Thursday, December 12, 2013

Boat Testing

Josh and Nick finished up the boat today and put the boat in water to test to see if it would float.  It did float and once Josh turned the motor on, the boat moved around.  However due to the small space, the boat couldn't complete the planned route.
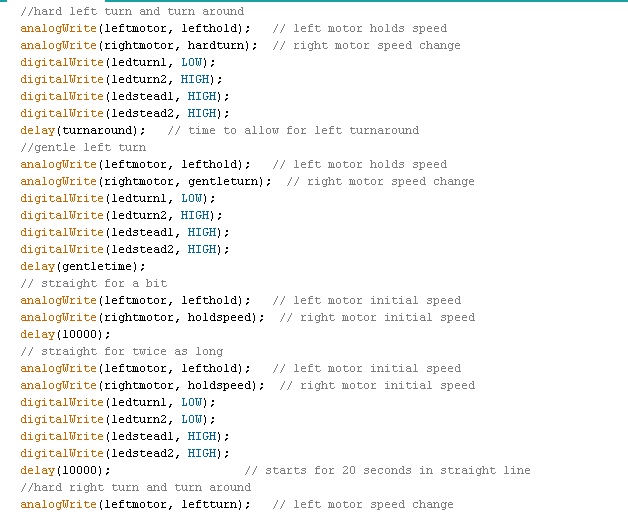
Arduino Code

This is the final Arduino code for our boat.  Josh created the motor and routes for the boat to follow while Nick created the LED code and for LED's to light up to indicate the direction of turning.  Together, we then combined the two codes onto one single code.


Video of It Working on a Desk - Dry Run


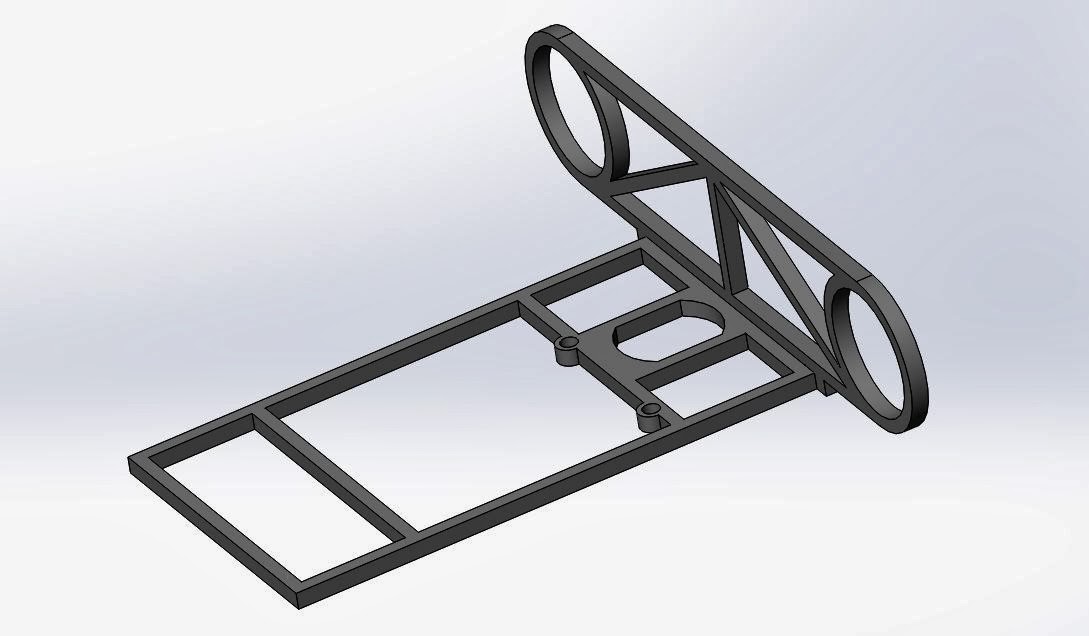
Laser Cut Frame and 3D Printed Propellors


This is the support structure for the arduino, motors and LED lights.  The motor's will be hot glued into each hole on the upright structure with fan blades attached to move the boat.  The two pieces fit perfectly according to Nick's calculations so they were hot glued together.  Josh's measurements were slightly off on the motor structures so Josh used a dremel to widen the hole.  Afterwards, the motor fit in perfectly and was hot glued in.  The bottom structure was the perfect size for the circuit board to rest on and the screw holes on the board matched up to the screw holes on the structure.  Then the fan blades were hot glued to the motor and Josh's dimensions fit perfectly, enabling the fan blades to not hit each other.